Tag - desserts

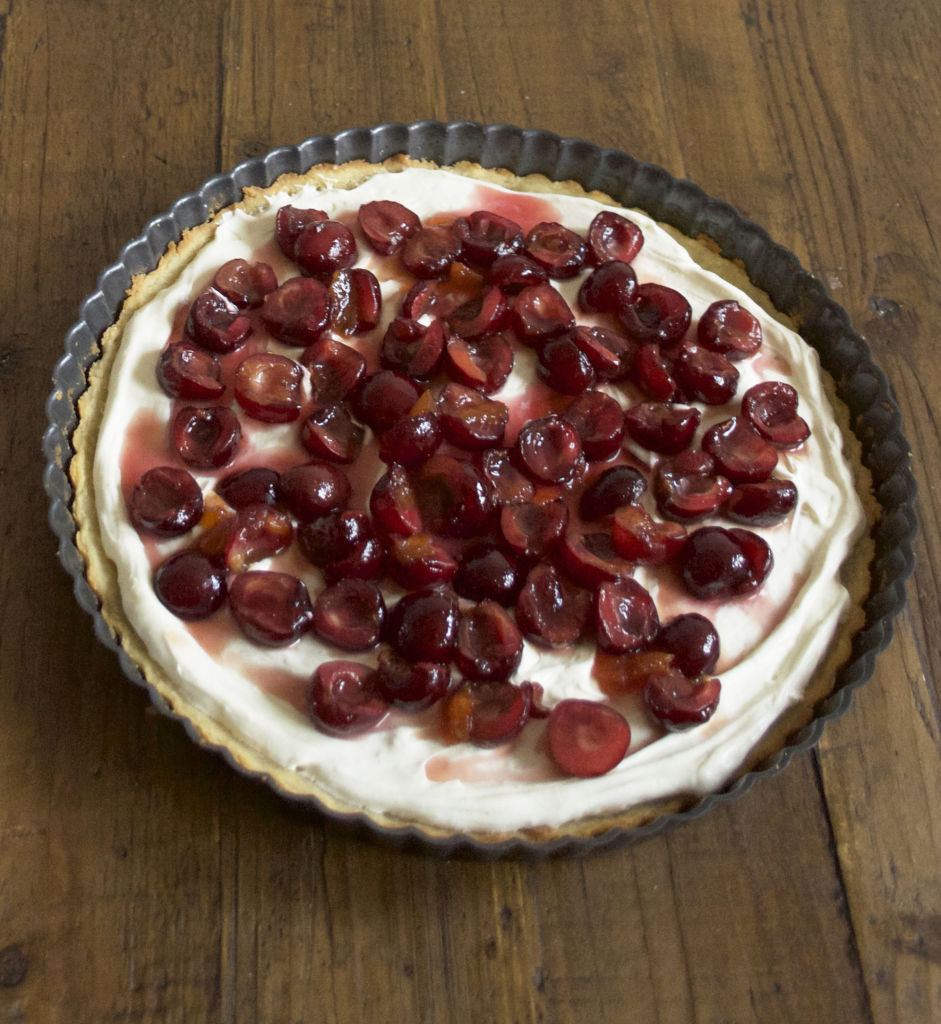
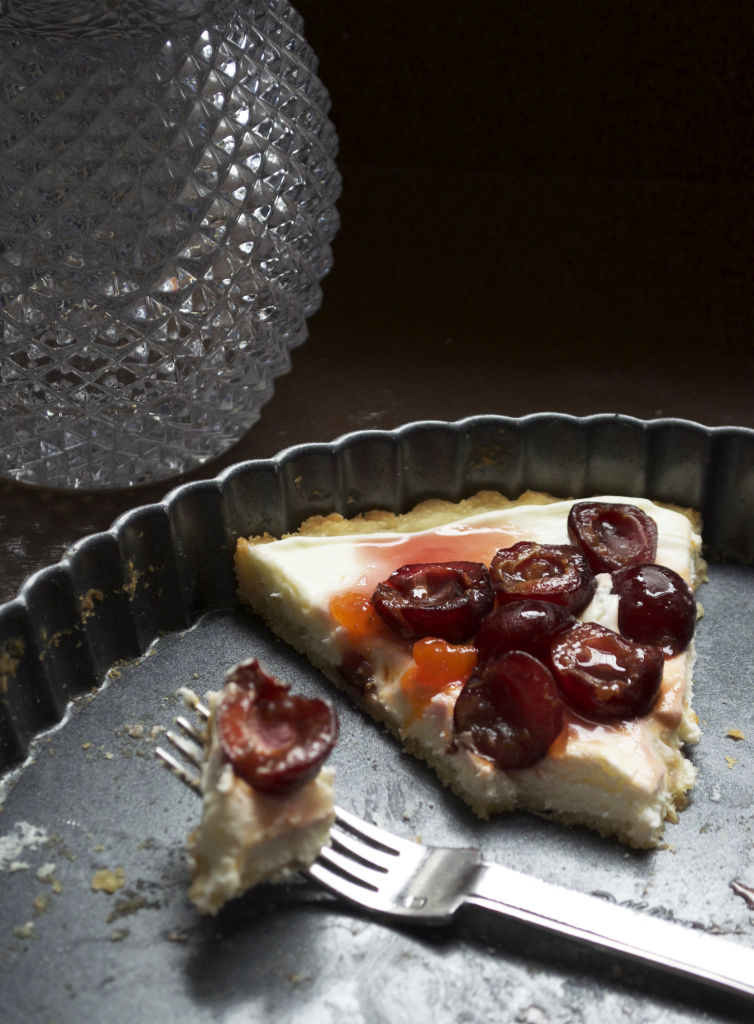
Cherry and Mascarpone Tart

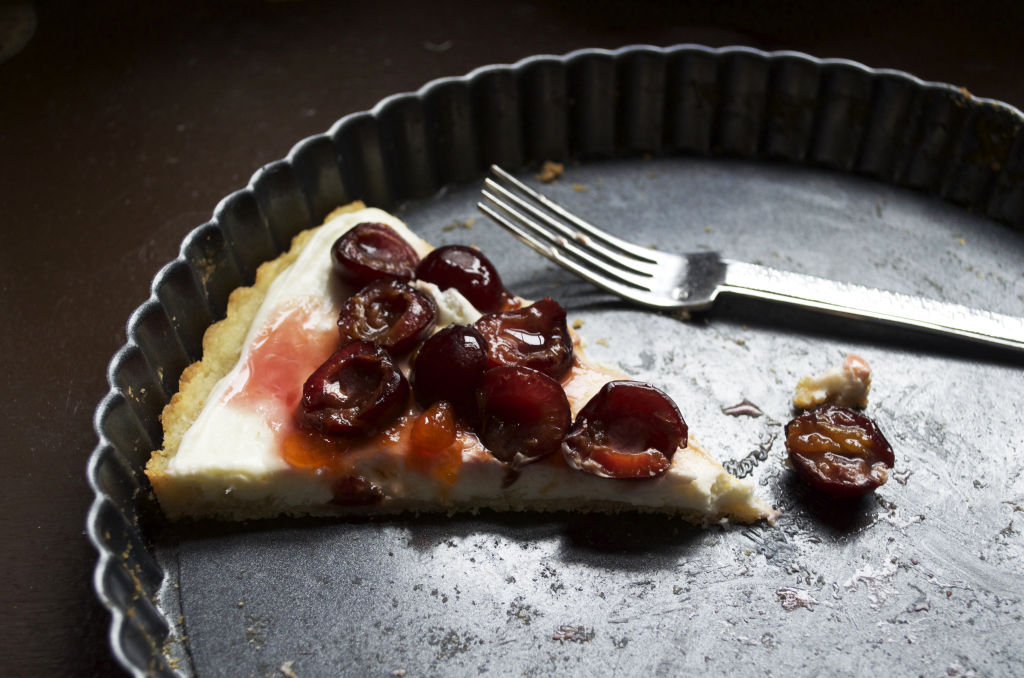
I go to a potluck every month, hosted by someone I went to graduate school with. The food is always delicious and it’s just a nice way to meet new people in the area. It’s always tons of fun! Last night I brought over some homemade herb butter with two loaves of bread Jason picked up at the Ferry Building (one gluten free rye and one gluten-full levain bread). I also brought a cherry and mascarpone tart for dessert. Both went over very well and were big hits. This tart can totally be made with tons of different fruit toppings — I’ve made it with mixed berries before and it was just as good!

Cherry and Mascarpone Tart
1 cup gluten free all purpose flour
1/4 cup almond flour
2 teaspoons sugar
1/4 teaspoon salt
1/2 cup unsalted butter, cold, cut into 1/4 inch cubes
1/4 teaspoon almond extract
5 teaspoons ice cold water
1 8-oz package of mascarpone cheese
1/3 cup heavy whipping cream
1/4 cup sugar
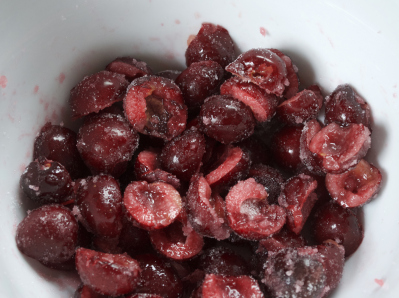
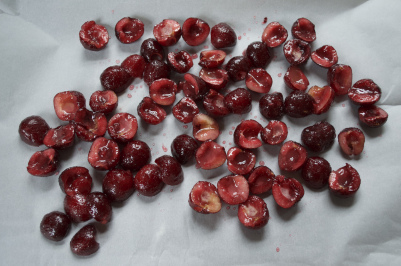
2 cups cherries, pitting and cut in half
2 Tablespoons apricot jam
1 Tablespoon maraschino liquor
1 teaspoon sugar

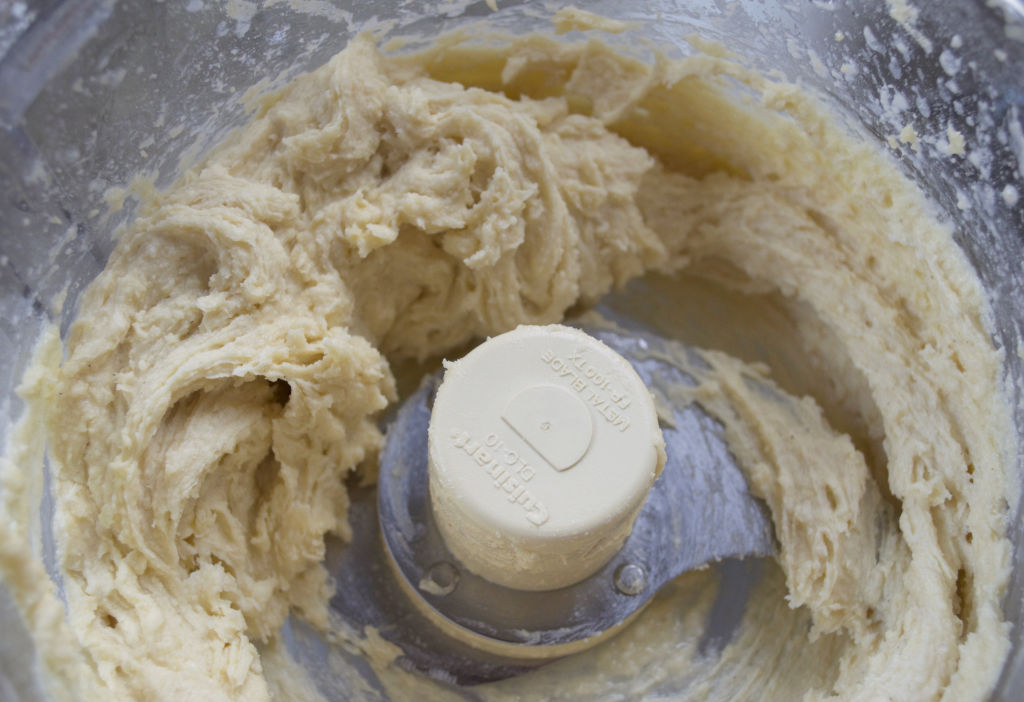
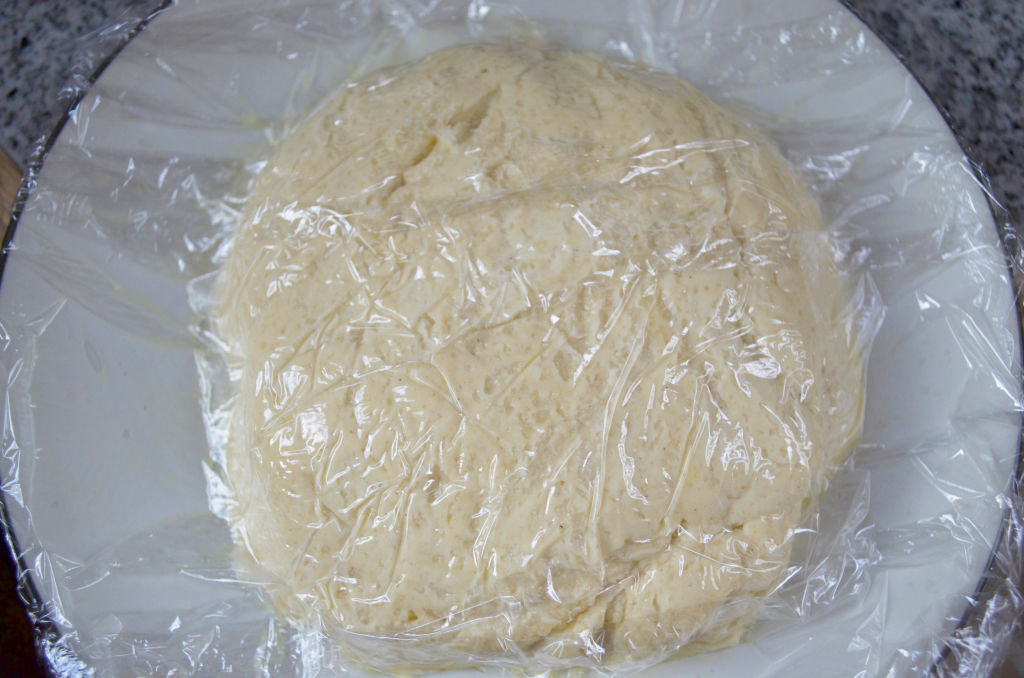
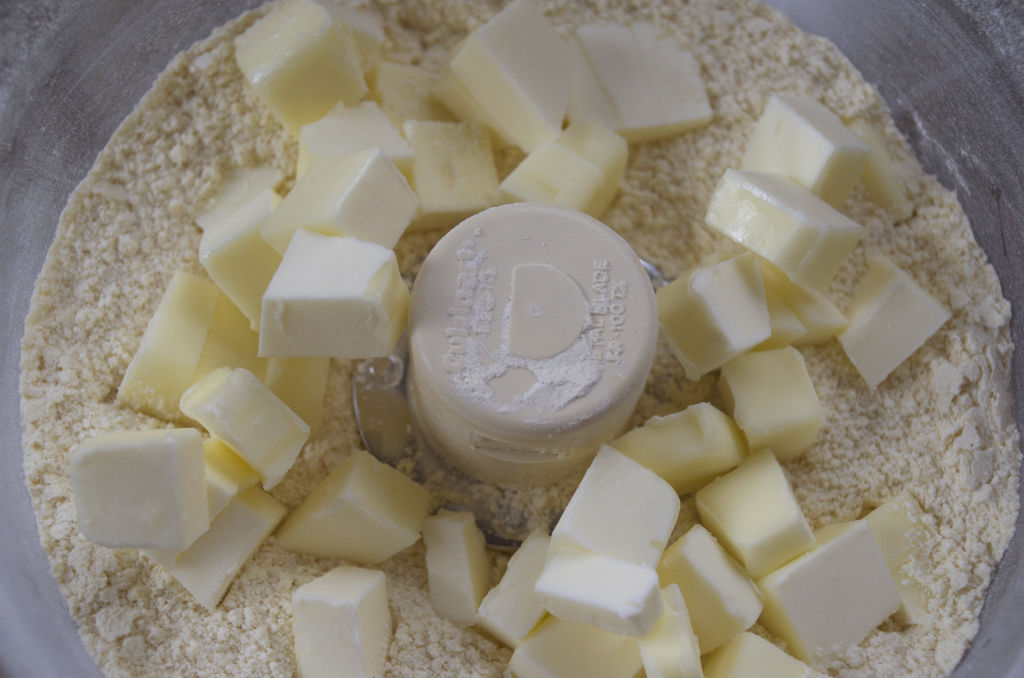
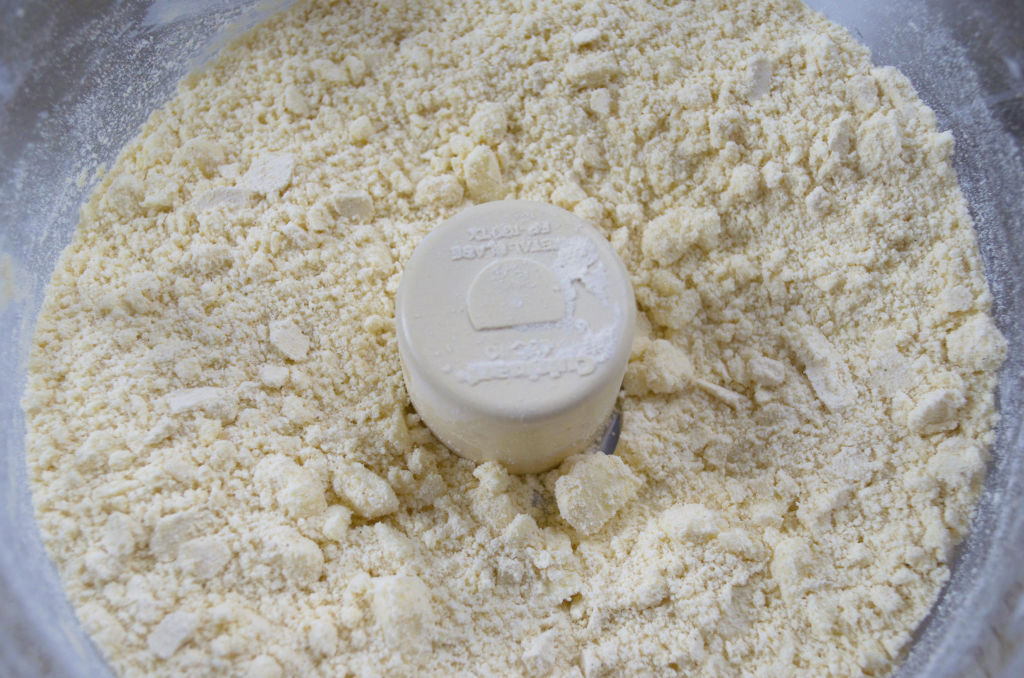
1. Combine both flours, salt, sugar in a food processor. Pulse to mix. Add butter and pulse until it resembles a coarse meal. Add almond extract to four tablespoons of ice water then add this mixture, one tablespoon at a time to the food processor. Only add enough until the dough begins to clump together. Remove the dough and form a flattened ball onto a dish then cover it with plastic wrap. Chill in fridge for at least one hour.
DSC_0634

DSC_0638

DSC_0645

DSC_0650

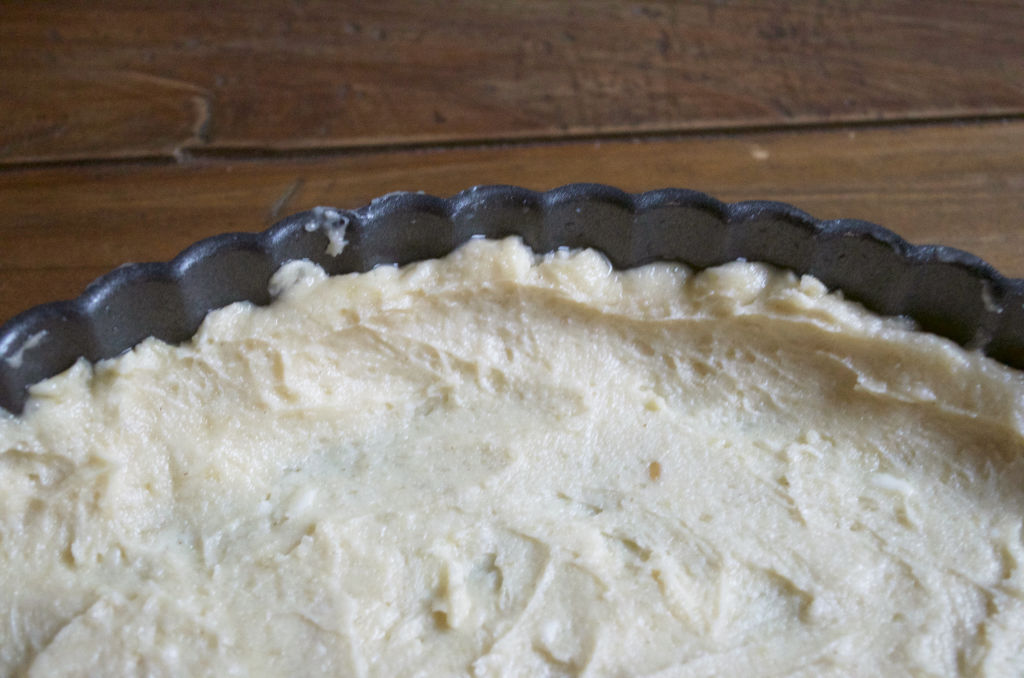
2. Remove dough and spread out on the bottom of a tart pan. Evenly distributing across the bottom and push the dough up at least a 1/4-inch up the side of the pan. Let the pan sit in the freezer for 30 minutes.
DSC_0715

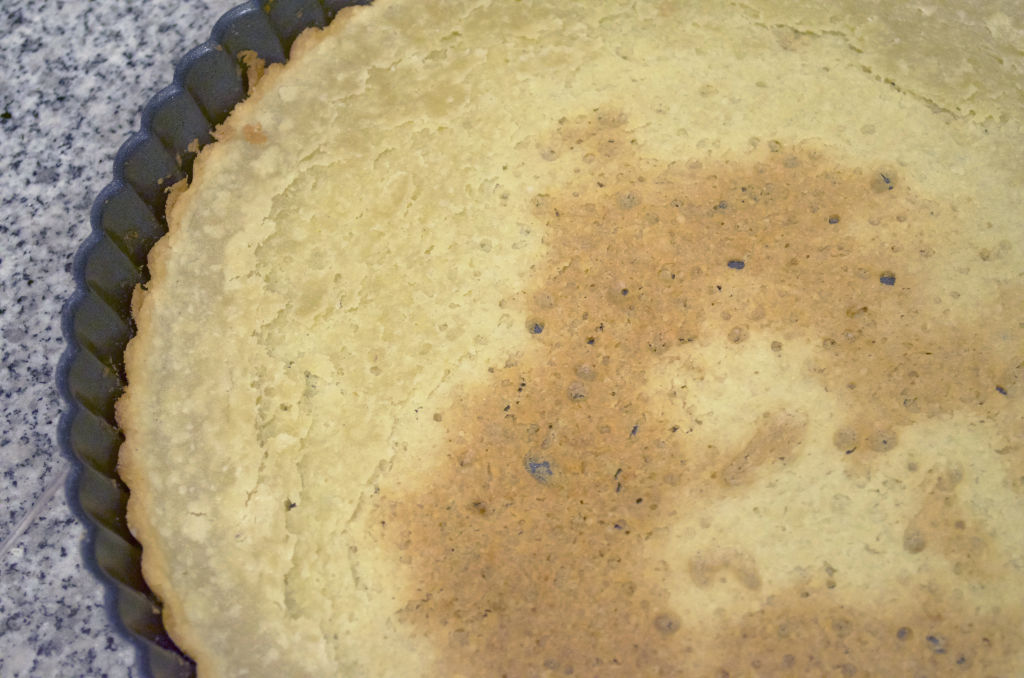
3. Preheat oven to 375 degrees. Take tart pan out of the freezer and poke a few holes in the crust with a fork. Line the crust with foil and fill with pie weights or dried beans. Bake for 20 minutes. Remove from oven and remove pie weights. Put back in oven for 10 minutes. Bake until lightly golden. Remove and let cool completely.
DSC_0724

4. In a stand mixer, beat together mascarpone, cream, sugar at high speed until peaks form. Scoop mixture onto the tart crust and spread across so it is level.

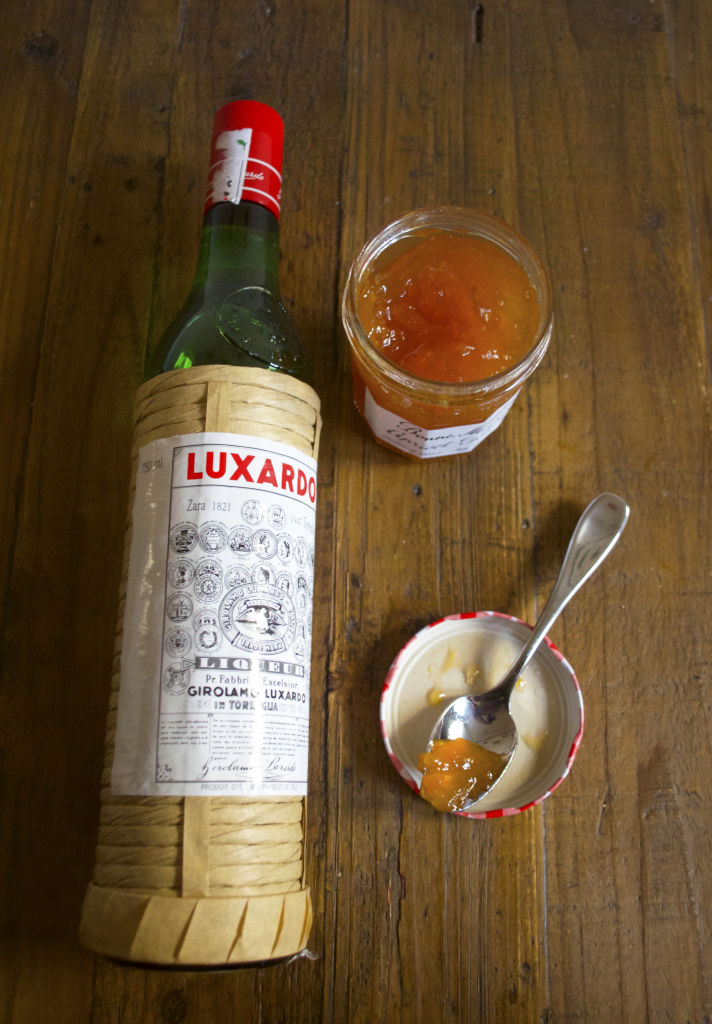
5. In a small saucepan, combine the jam, liquor, and sugar. Heat until it’s reduced to about 1 1/2 Tablespoons. Careful not to burn the sugar!
DSC_0669

DSC_0679

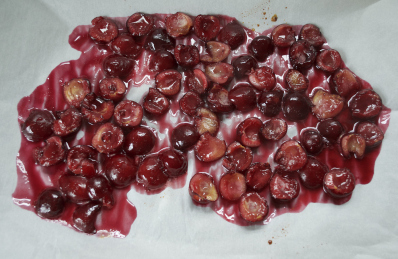
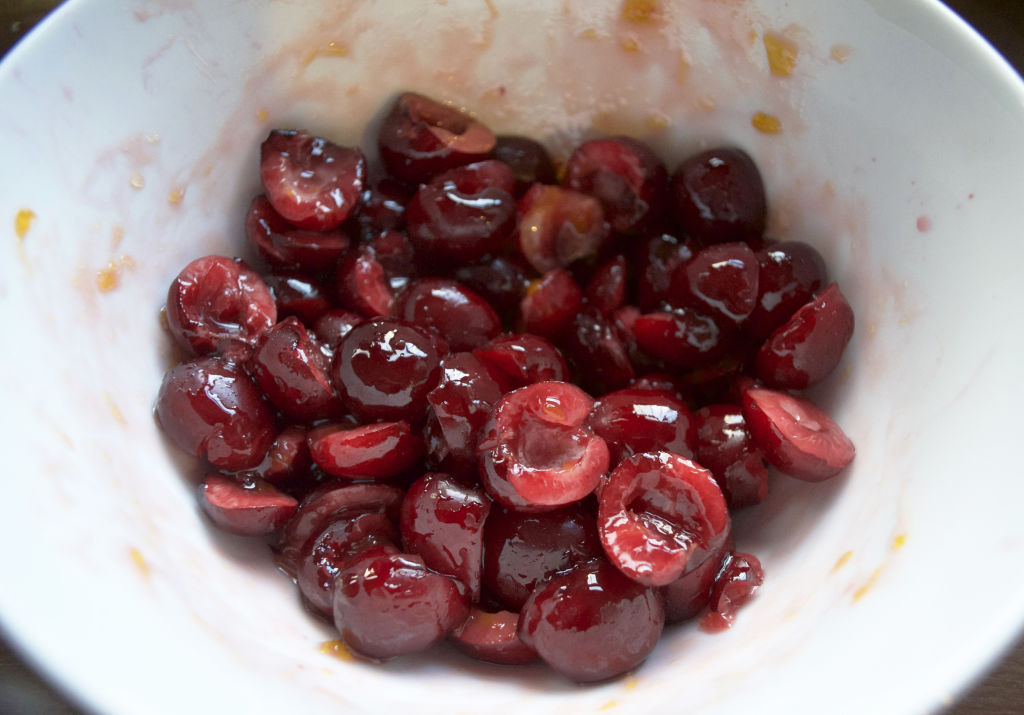
6. Pour the sauce over the cherries and mix. Let them cool then place them over the tart.

DSC_0727

DSC_0757

DSC_0806

Black Forest Bars

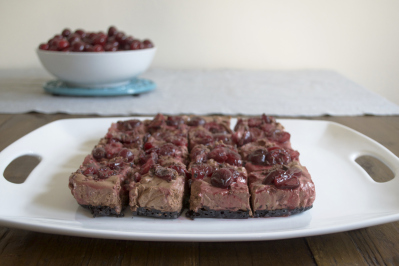
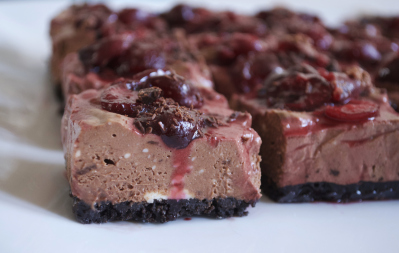
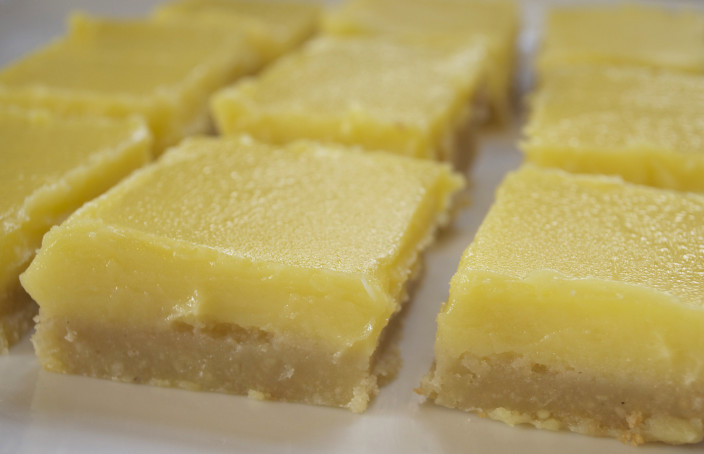
This is another recipe that came from our Cherry Picking Day! I could eat an entire bowl of this chocolate-cream cheese-whipped cream concoction. It was really hard not to. The roasted cherry topping is yummy too, I think it would be great on top of basically any dessert. The gluten free Oreo crust came out a little crunchier than I would have liked but after sitting in the fridge over night it had time to soak up some of the cherry juice and turned it super-awesome.
Black Forest Bars
(Recipe credit to Just Putzing Around the Kitchen)
2 cups cherries, pitted and halved
2 tablespoons sugar
10 gluten free Oreo cookies
3 tablespoons butter, melted
8 oz cream cheese, room temperature
1 cup heavy whipping cream
1/3 cup Nutella
1 1/2 cup chocolate chips + enough for sprinkling

1. Heat oven to 400. In a small bowl, toss cherries with sugar. Spread them over a baking sheet and cook for about 10 minutes. Remove cherries from the oven and set aside.

dsc_0327

dsc_0345

dsc_0372

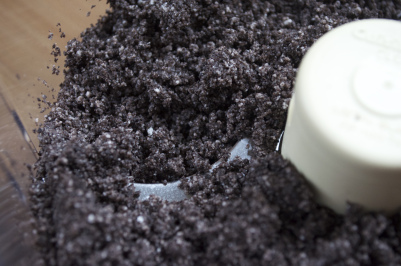
2. Place cookies in a food processor and pulse until they become crumbs then add melted butter. Pulse again a couple times until combined.dsc_03801

3. Place crust mixture into a baking pan lined with tin foil. Cook for 10 minutes (NOTE: This was too long or too hot for the gluten free oreos! Try 350 for 10 minutes or 400 for 7 minutes).

dsc_0401

4. While cherries and crust are cooling, whip cream cheese in a stand up mixer until smooth. Transfer into large bowl.

5. (Clean out the mixing bowl!) Whip the heavy cream until stiff peaks form. Gently fold into the cream cheese and mix until incorporated. (NOTE: there may be tiny chunks of cream cheese throughout. This is okay.)
6. Melt chocolate over a double boiler and let briefly cool. Add to cream cheese/whipped cream filling. Add Nutella and stir until uniform.

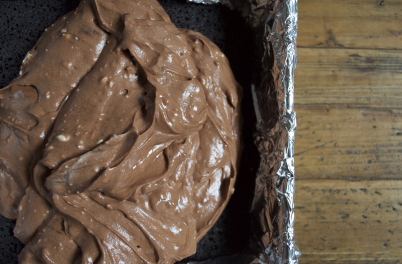
7. Spoon filling onto crust and then spoon cherries and juice on top. Refrigerate for at least one hour.

dsc_0478

dsc_05071

dsc_0545

dsc_05572

Flourless Brownies

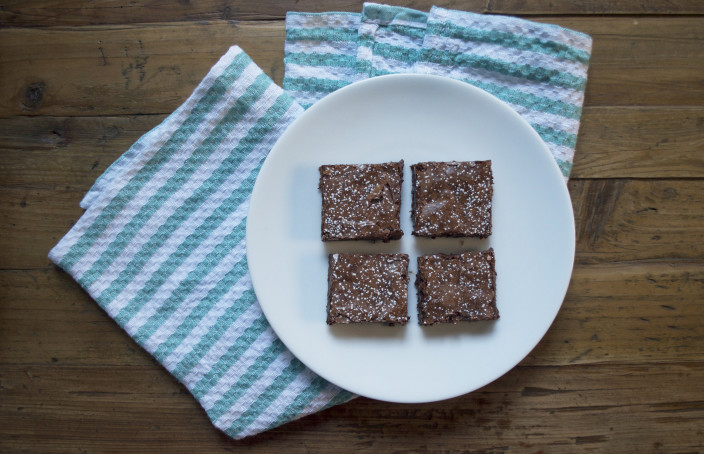
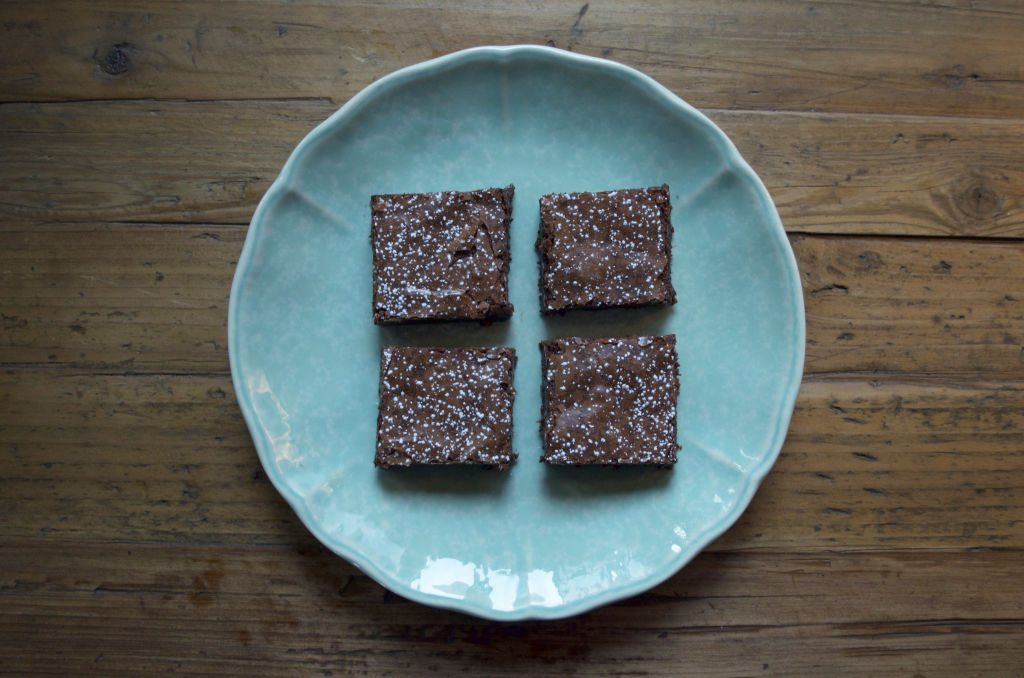
I crave chocolate… a lot. There are a lot of options for flourless confections in the area but few have hooked me. I stumbled upon this gluten free brownie recipe and it was the most delicious baked good I’ve had in a long time. They have a fudge-like quality that’s to die for. We ate a couple at home and I brought the rest to work. They disappeared quickly and received a lot of compliments. I can’t stop thinking about them and need to make them again. Like right this second.

Flourless Brownies
(Recipe credit to life made simple)
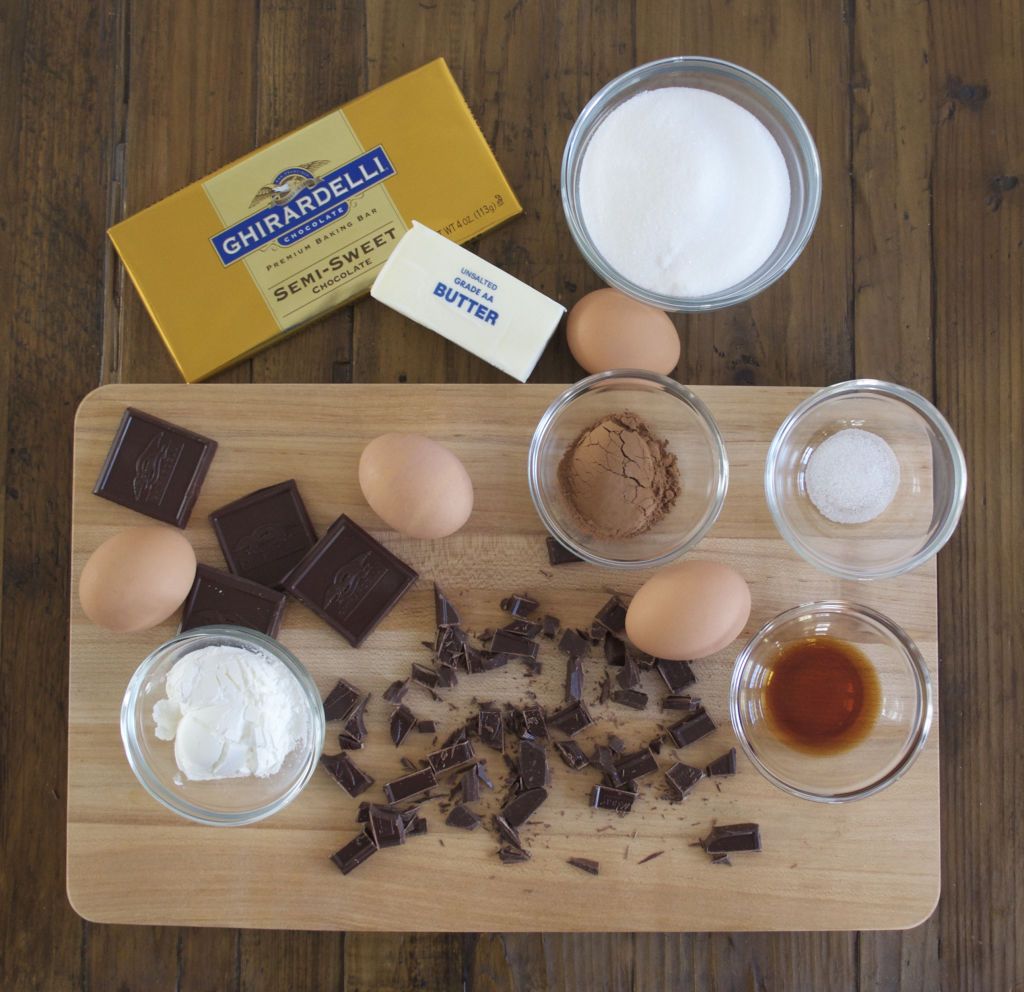
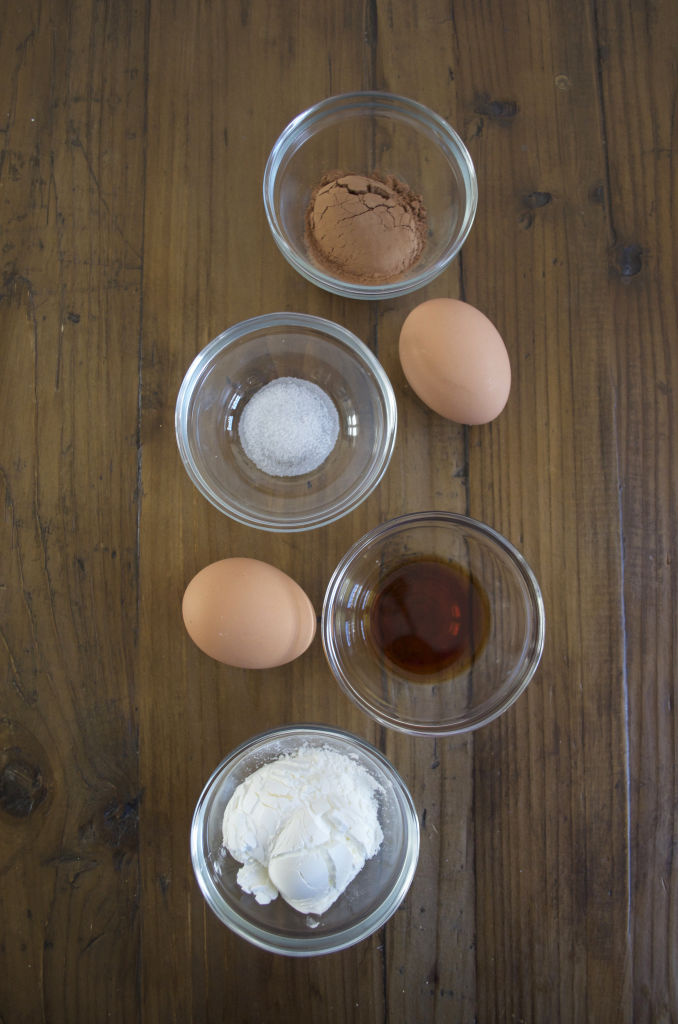
6 Tablespoon unsalted butter
3/4 cup sugar
8 oz. semisweet chocolate, chopped
2 eggs, room temperature
1 teaspoon vanilla extract
1 Tablespoon unsweetened cocoa powder
3 Tablespoon cornstarch
1/4 teaspoon salt

DSC_0168

1. Preheat oven to 350 degrees. Line a 9×9″ square pan with foil and lightly spray with cooking oil, set aside.

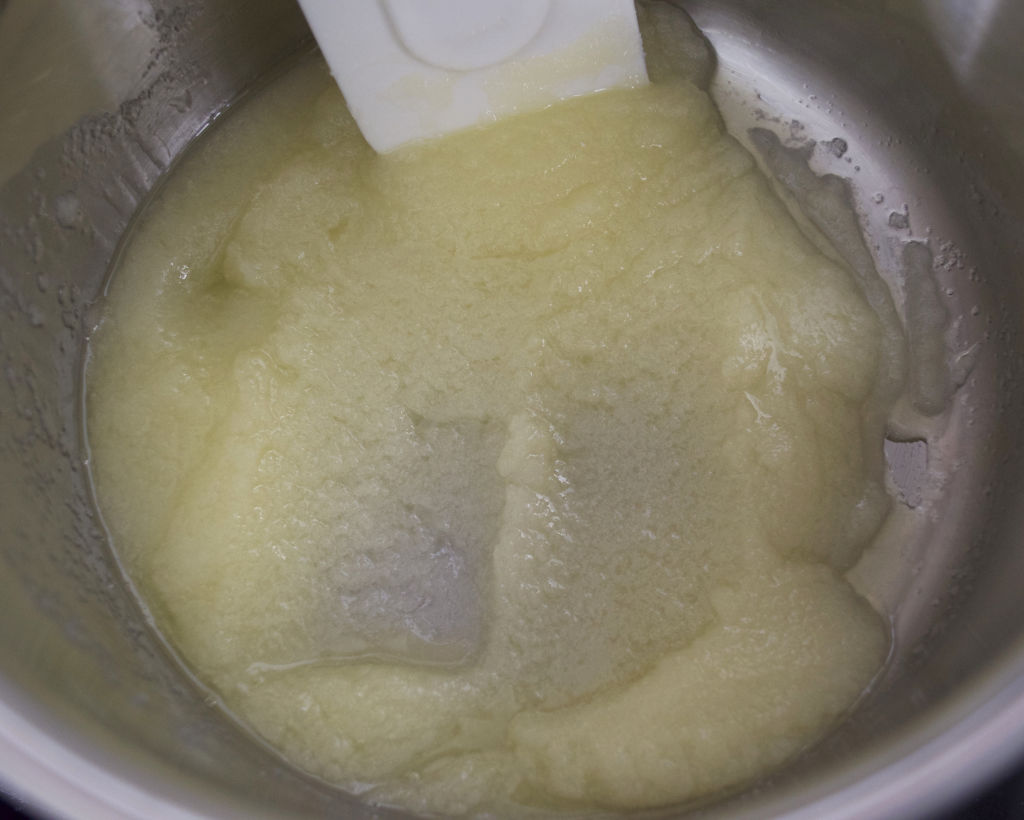
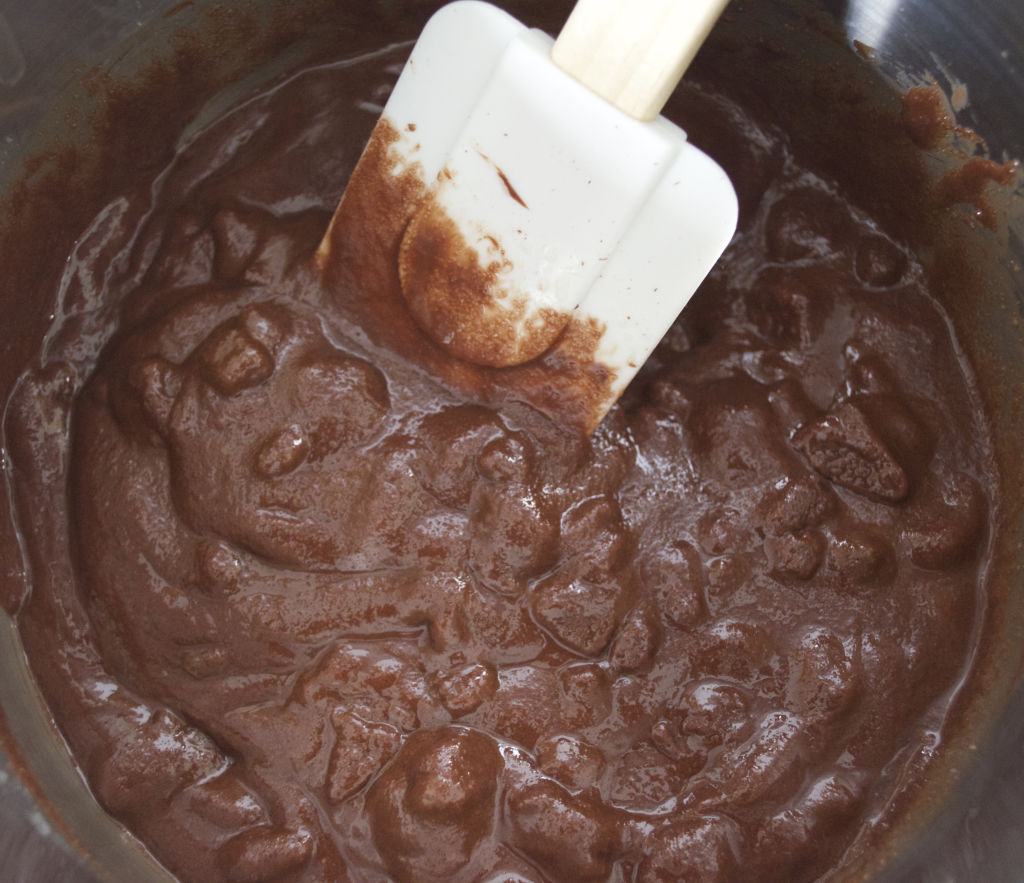
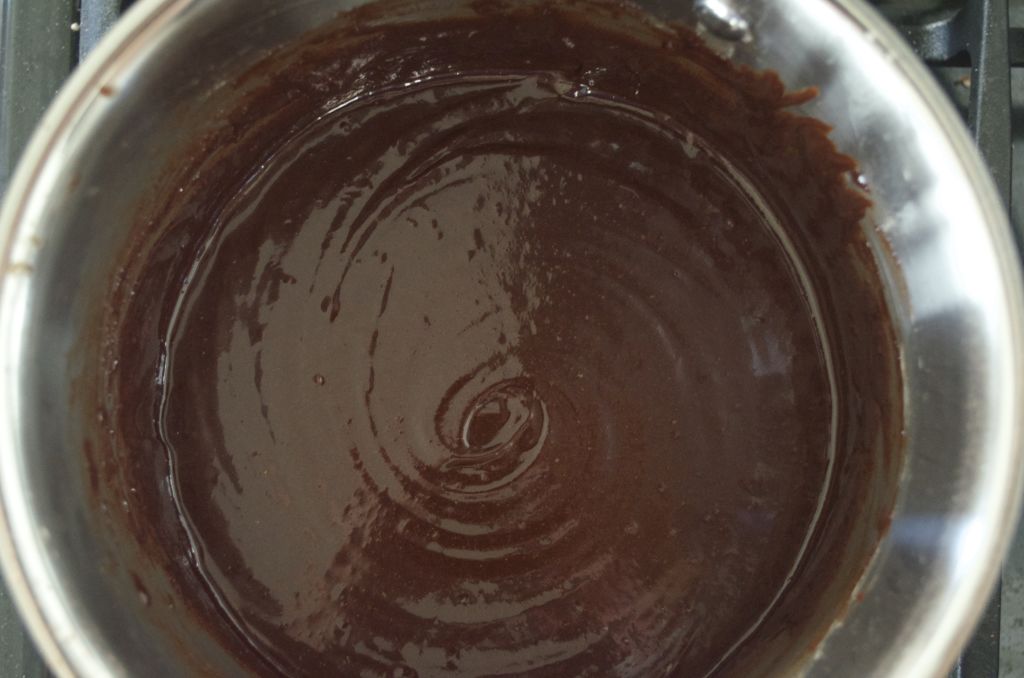
2. In a small saucepan over low heat, melt the butter then then add the sugar. Once the sugar is mixed in well, add the chopped chocolate, stirring until smooth.

DSC_0180

DSC_0186

3. Remove the saucepan from the heat and add the eggs, one at a time, then the vanilla extract.

DSC_0175

DSC_0189

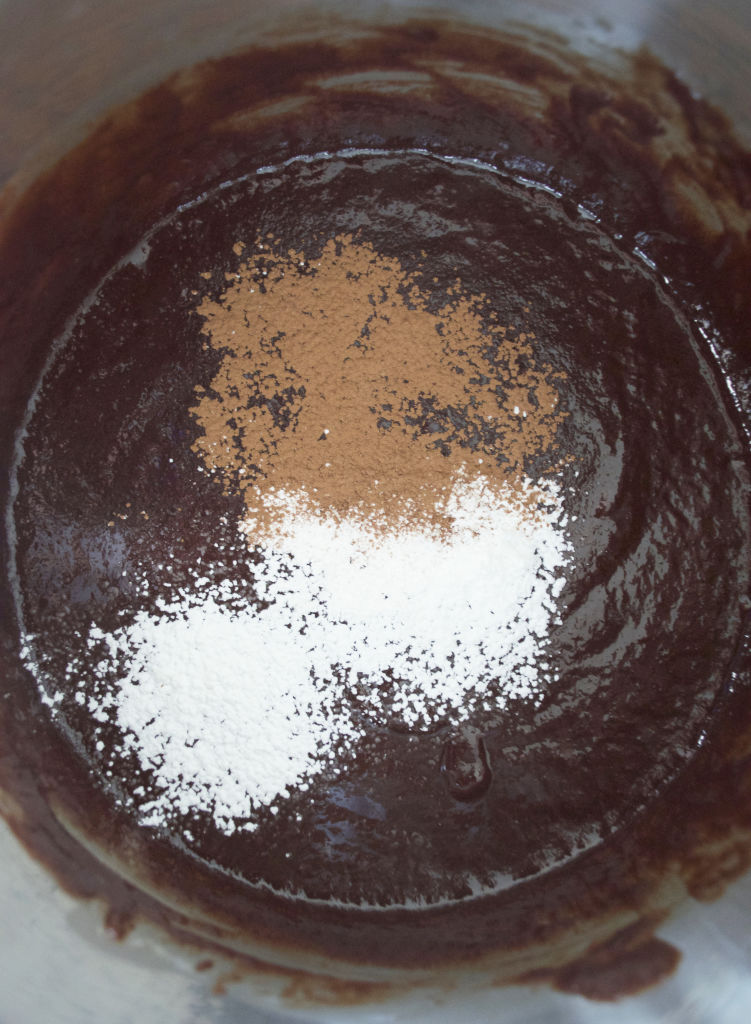
4. Using a mesh sieve, sift the cocoa powder and cornstarch into the saucepan, then add the salt.

DSC_0199

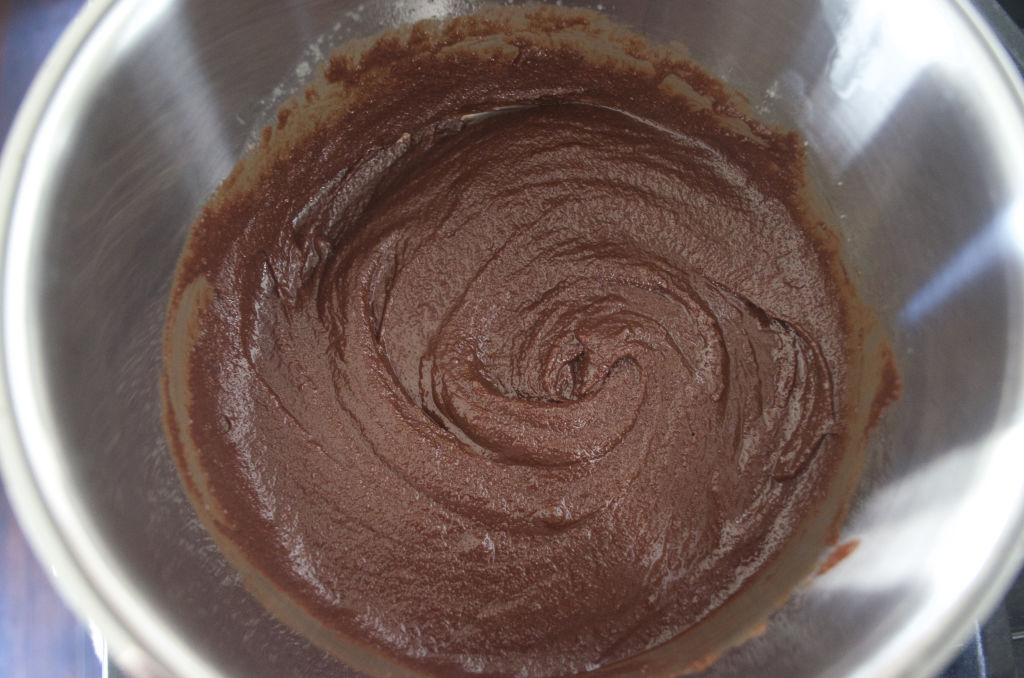
5. Stir together, then beat the batter for 1-2 minutes until it’s smooth and shiny.

DSC_0218

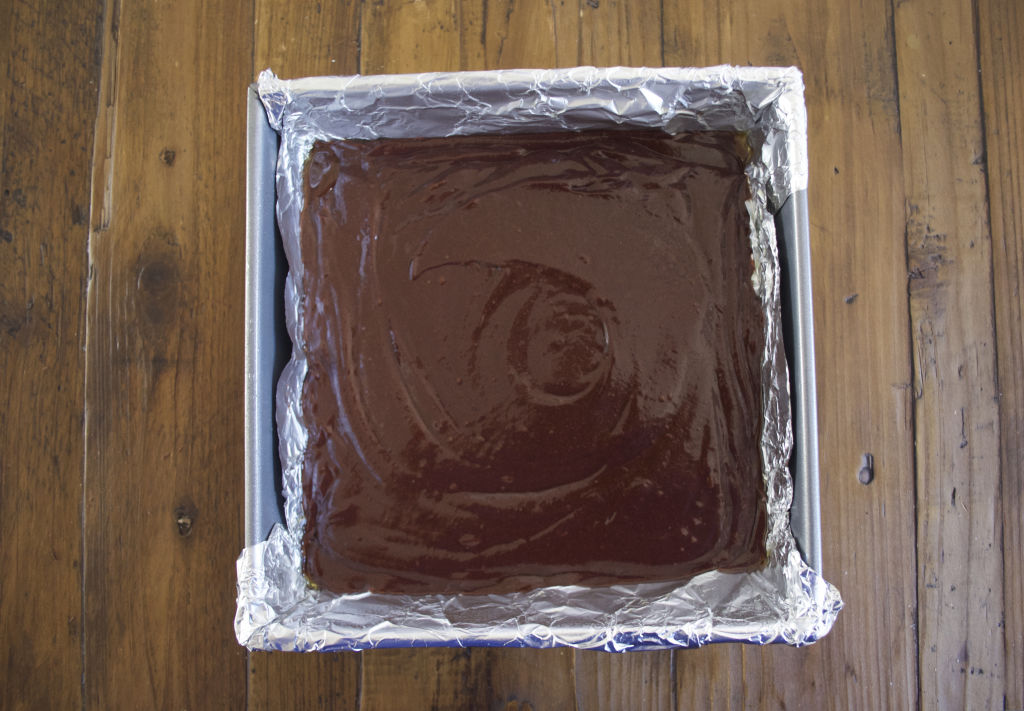
4. Pour the batter into the prepared pan and bake for 22-30 minutes or until the brownies are no longer jiggling in the center.

DSC_0229

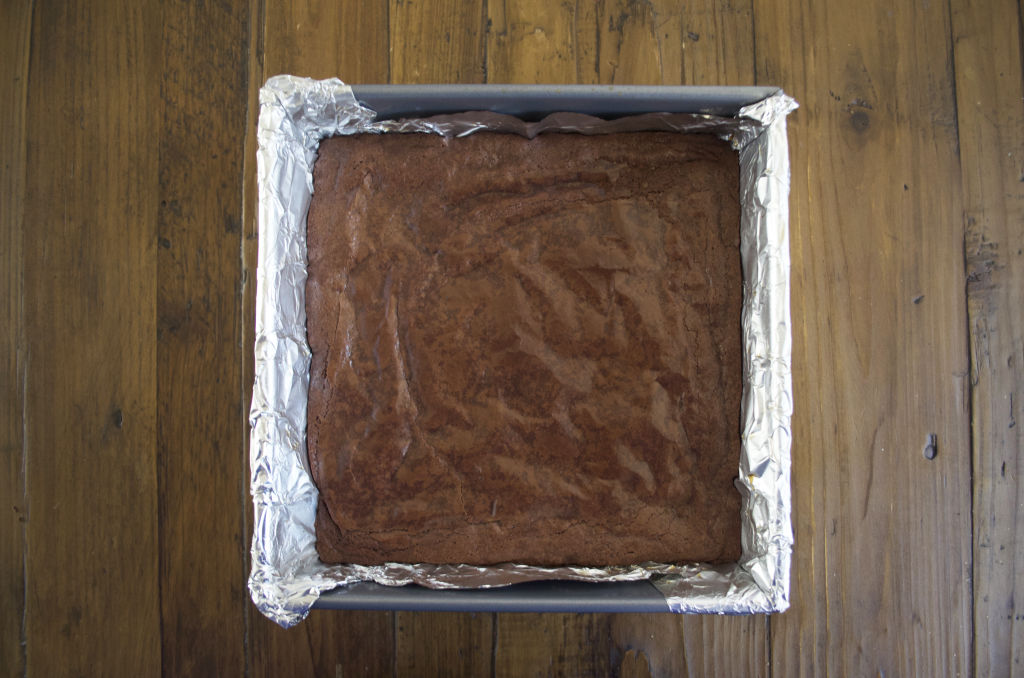
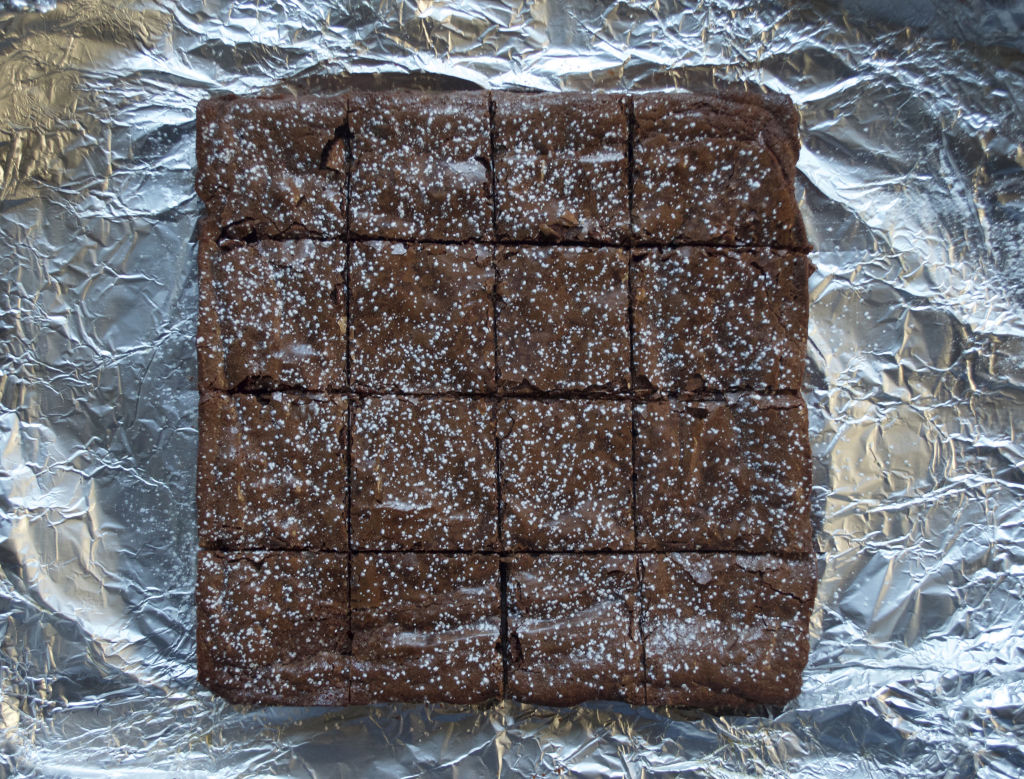
5. Be careful not to over-bake (gooey brownies are the best)! Remove the pan from oven and let cool in the pan for 45 minutes before removing and slicing.  

DSC_0250

 DSC_0416

DSC_0424

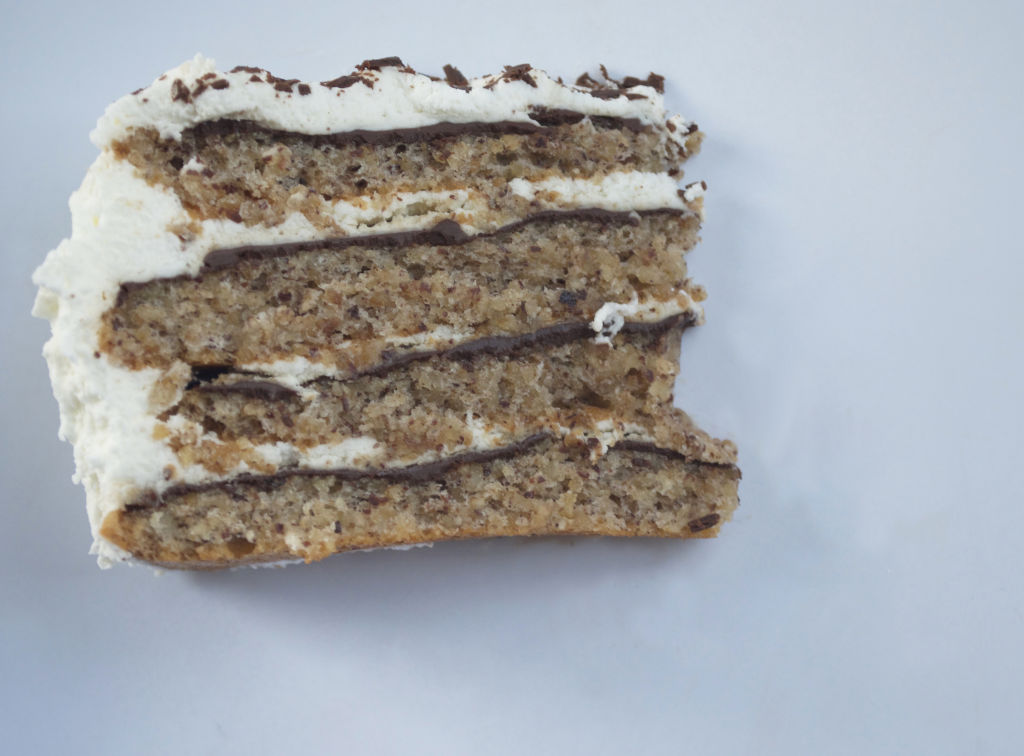
Chocolate Hazelnut Macaroon Torte

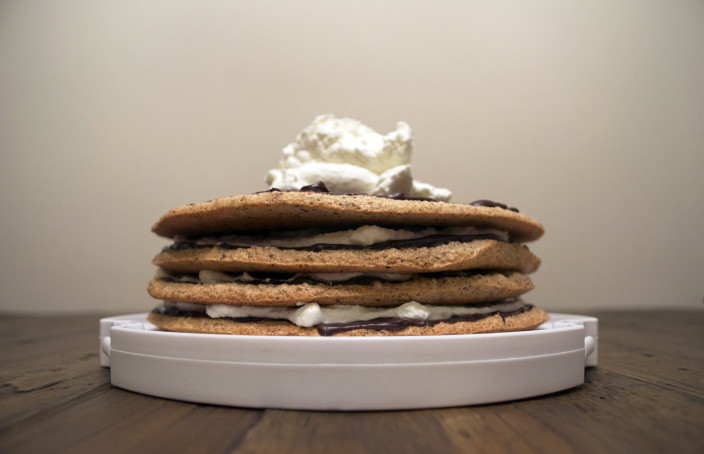
There was someone working in the grocery store yesterday giving out free cosmo shots. I’m not certain if it was the booze coursing through my veins but out of no where, dessert struck me! I quickly searched through the Smittenkitchen blog for inspiration. I’ve been following that blog for the past six years and it was in the gluten free section that I found… a Chocolate Hazelnut Macaroon Torte. All of those things in one luscious dessert? Yes. Please and thank you. The recipe took a good amount of time but it is very much worth it if you have a love of hazelnuts!

Chocolate Hazelnut Macaroon Torte
(Recipe credit to smittenkitchen)
Cooking oil spray
1 cup, plus 2 tablespoons sugar
6 large egg whites
2 1/2 cups hazelnuts (about 12 ounces or 340 grams), toasted, then skinned as much as possible*
1/4 teaspoon table salt
1 teaspoon vanilla extract
1 cup bittersweet chocolate chips
1/4 cup water
1 teaspoon espresso granules
1 1/2 cups chilled heavy or whipping cream
3 tablespoons granulated sugar
1 tablespoon Frangelico
A semi- or bittersweet chocolate bar for shaving

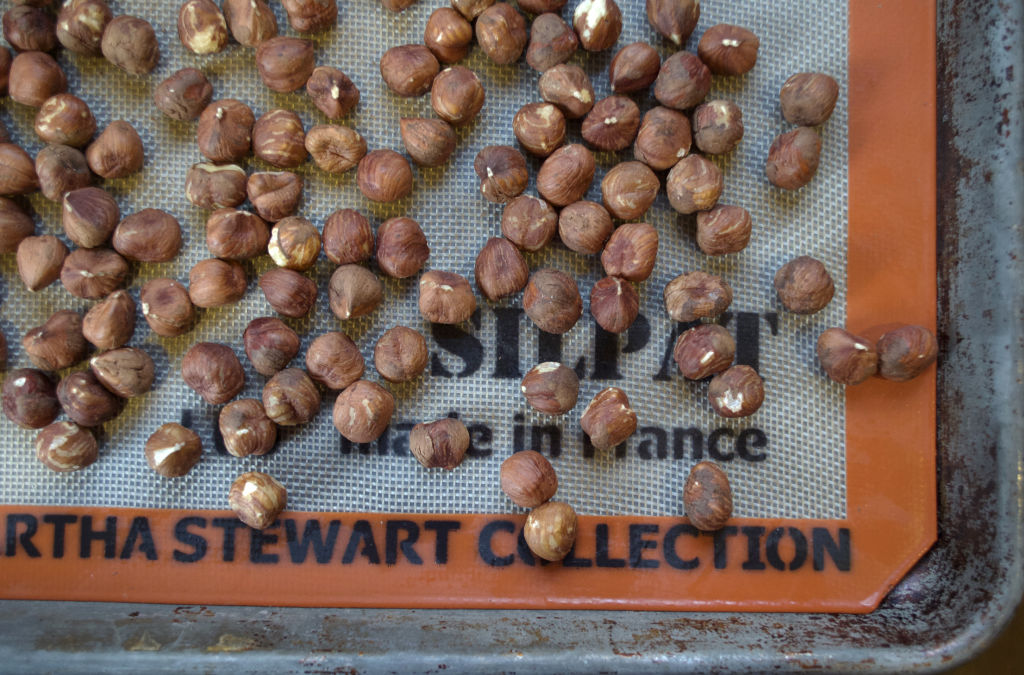
1. Spread raw hazelnuts on a cookie sheet and bake at 350°F for 10 minutes, tossing once throughout baking. Let cool and roll them around with a towel to remove as much of their skins as you can.

DSC_0094
2. Change heat to 325°F and position oven racks in the top and lower levels of oven. Draw eight-inch circles onto four pieces of parchment paper. Place them face down onto two baking sheets, ensuring pencil-side is down so that it doesn’t touch the macaroon mixture. Spray each of the circles with cooking oil and wipe down with a paper towel so that there is a thin layer of oil on each.
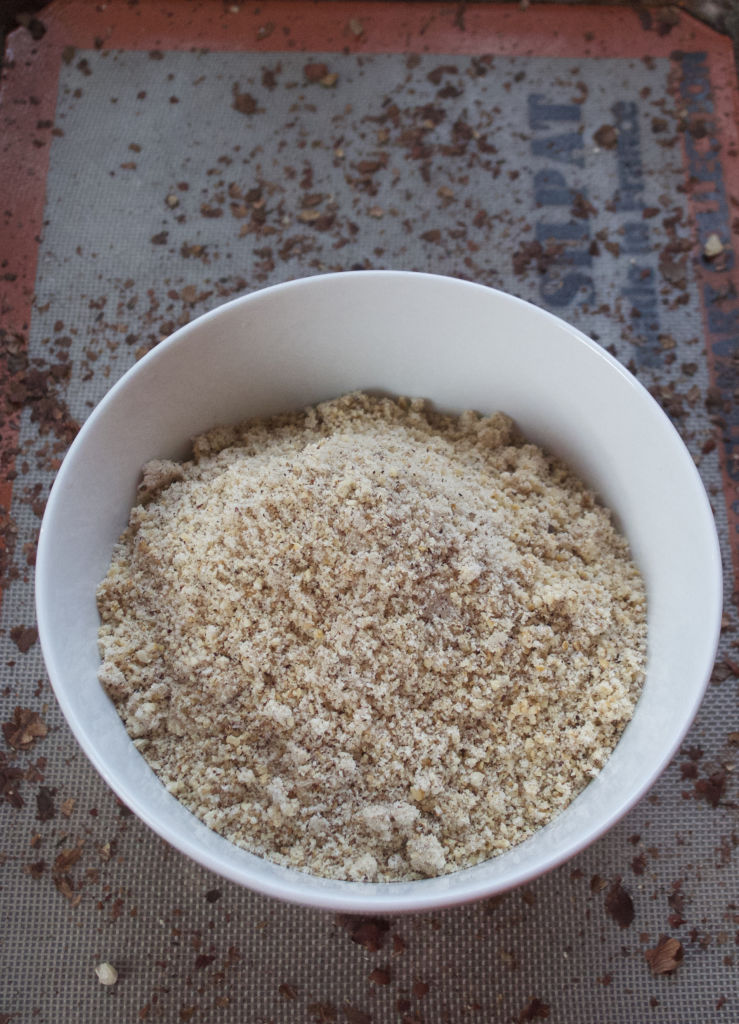
3. Place hazelnuts into the food processor with 1 cup of sugar and salt. Blend until very finely ground (I didn’t blend quite as much as I would prefer for next time. This is an important step!) Set aside.DSC_0125
4. Beat egg whites in an electric mixer until soft peaks form. Carefully drizzle in the vanilla extract and the remaining 2 tablespoons of sugar. Beat until stiff peaks have formed, they will almost have a pearly sheen to them.

DSC_0180

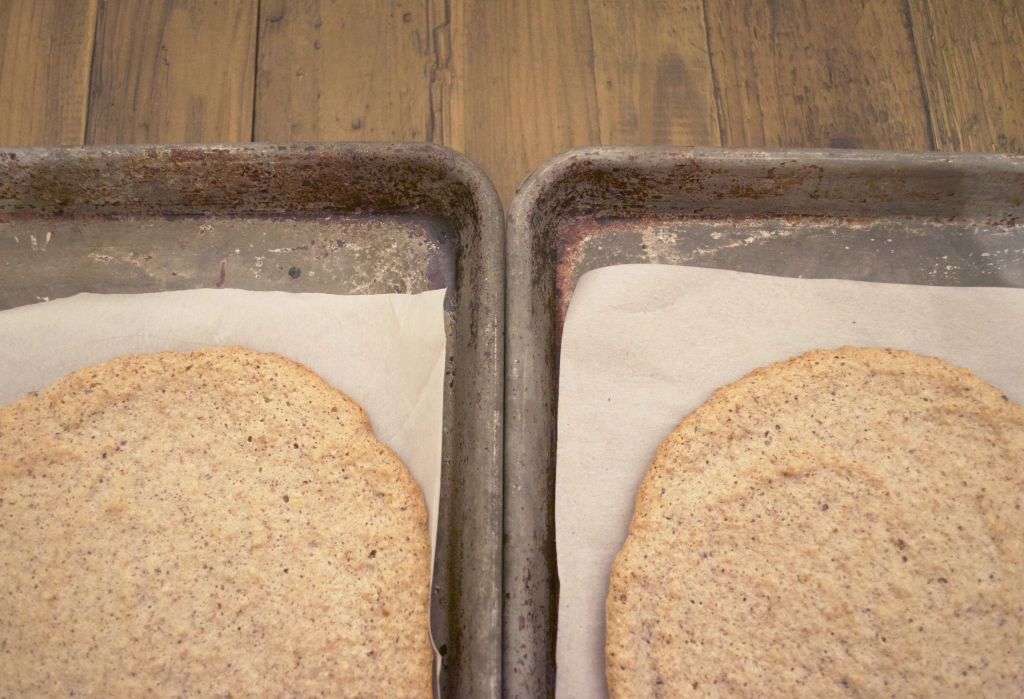
5. Fold hazelnut mixture into egg whites in thirds. Spread a quarter of the macaroon batter evenly within each circle, filling completely. Bake macaroon layers until golden and dry to the touch — 20-25 minutes. Cool macaroons on their sheets on a cooling rack.

DSC_0270

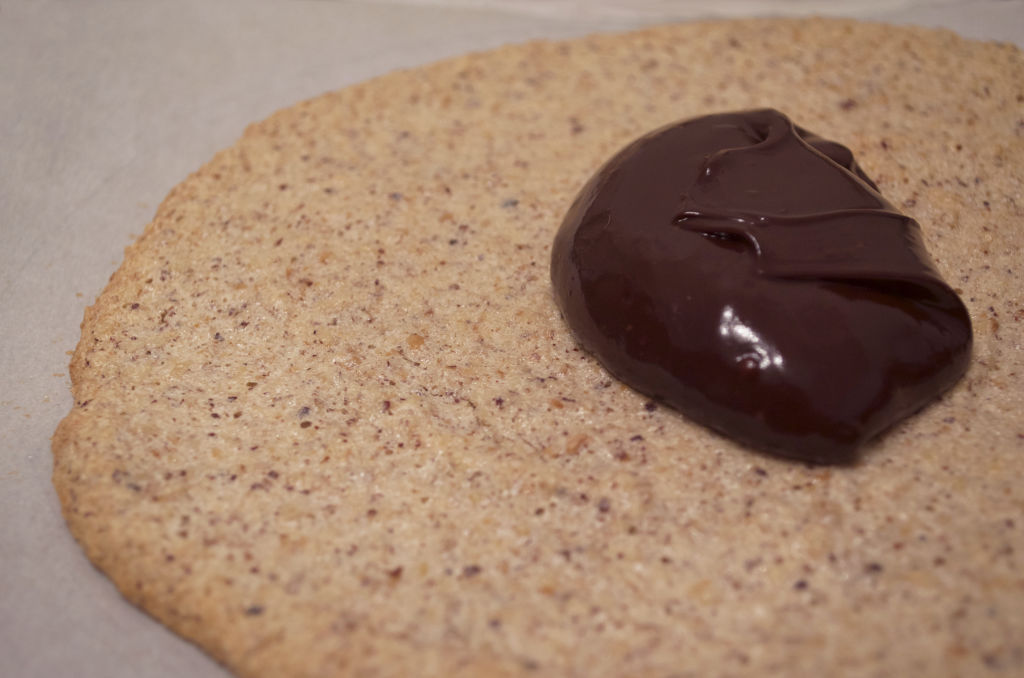
6. While meringues cool, heat half of chocolate chips, water, and espresso in a small heavy saucepan over moderately low heat, stirring until smooth. After all the chips have melted, remove from heat and stir in second half of chocolate until melted. Spread chocolate evenly over tops of meringue rounds, as long as they are cool enough. Cool until chocolate is set, this could take over an hour or you could place them in the refrigerator for a few minutes to help speed it along.

DSC_0287
7. While chocolate is setting, beat heavy cream with sugar and Frangelico in standing mixer until it holds stiff peaks.

DSC_0407

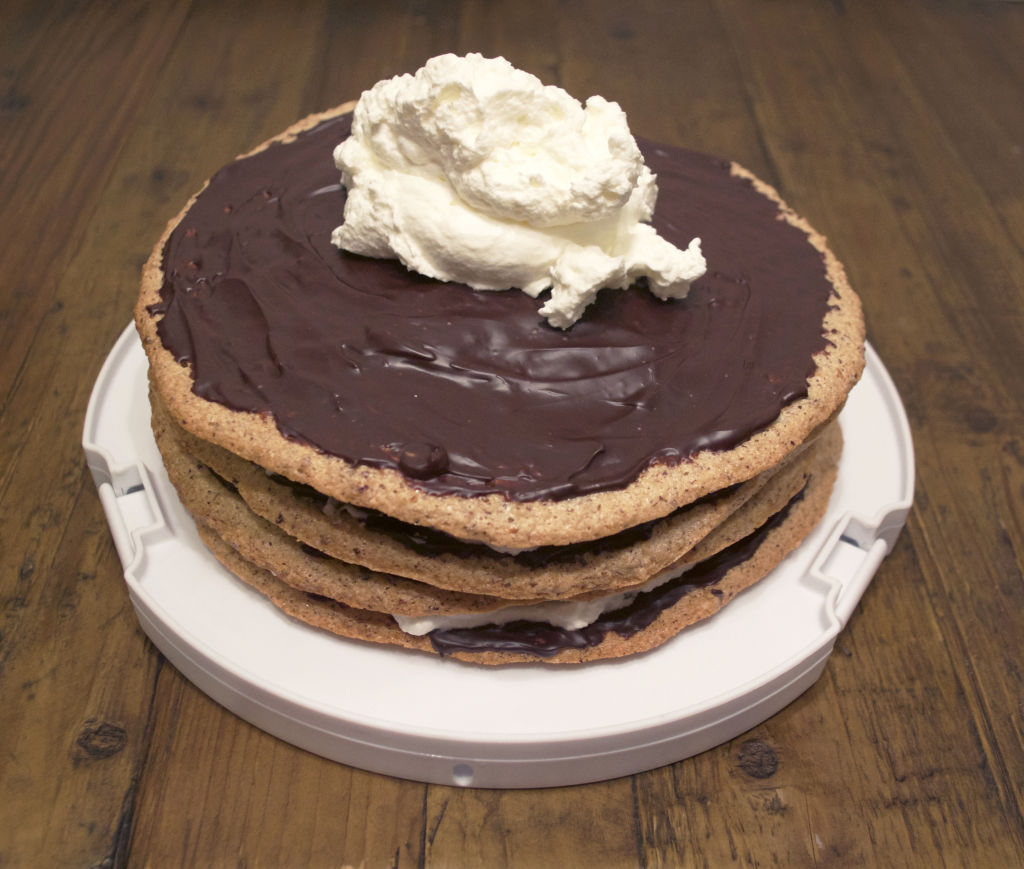
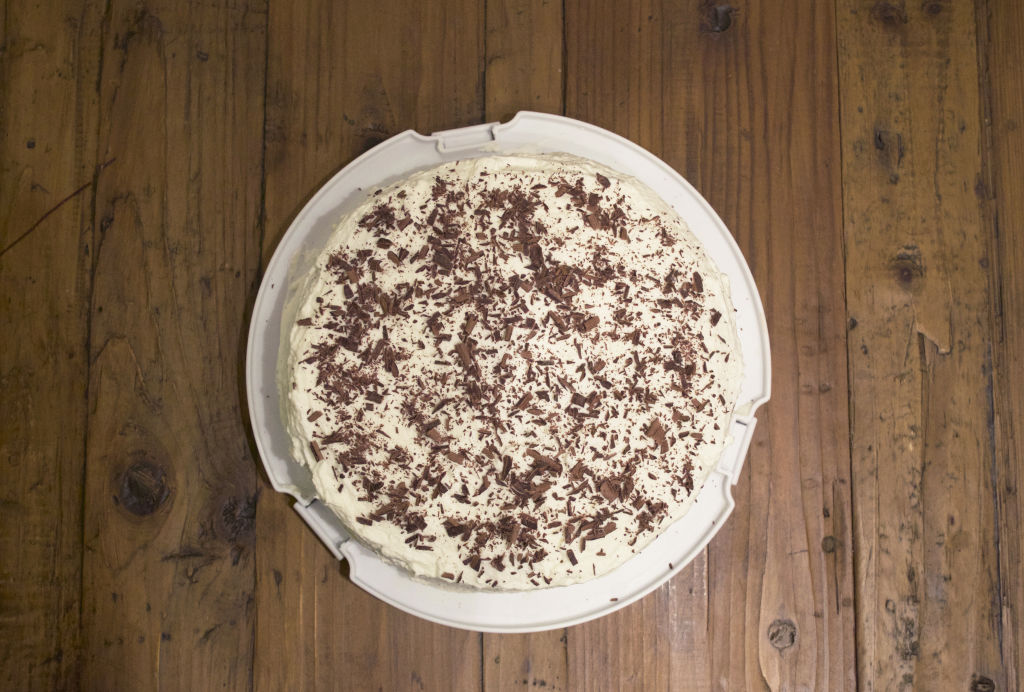
8. To assemble, peal macaroons off parchment paper and place first disc directly onto whatever serving plate you plan to use. Spread 1/3 cup of whipped cream onto each layer before placing the next. When you’ve reached the final layer, frost the top and side of torte with whipped cream. Using a vegetable peeler, scrape shavings off chocolate to top the cake.

DSC_0448

DSC_0544

Lemon Squares

This recipe came from my cousin, Meghan. She sent it to me saying I would love it, and she was right! These are absolutely delicious. I tend to gravitate toward chocolate desserts but I have a soft spot for lemon-related things too. Jason said he’d prefer more shortbread crust to the lemon, but I like them as they are. Next time I might 1.5x the crust ingredients and see how it goes.

Lemon Squares
(Recipe credit to thekitchn.com)
1/2 cup (1 stick) unsalted butter, softened and cut into chunks
1/2 cup powdered sugar
1 cup all-purpose gluten free flour (or regular flour)
3/4 cup almond meal
1/2 teaspoon salt

4 large eggs
4 large egg yolks
1 cup granulated sugar
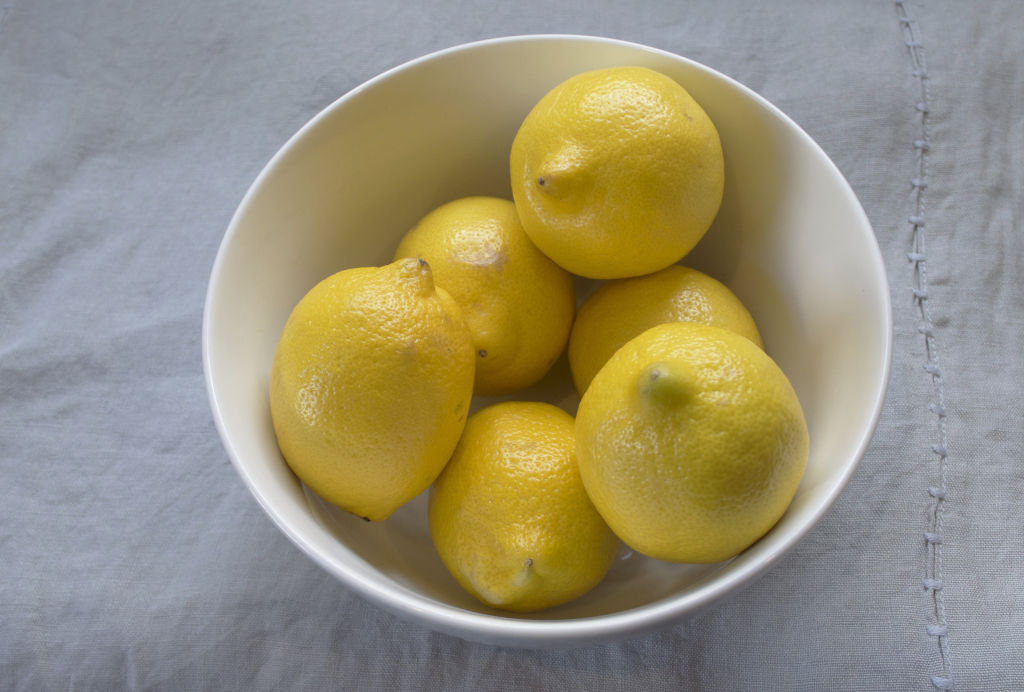
Zest from 5 to 6 lemons
3/4 cup fresh-squeezed lemon juice (from 5 to 6 lemons)
1/4 teaspoon salt
1/2 cup (1 stick) unsalted butter, softened and cut into cubes

1. Place a rack in the middle of the oven and heat the oven to 350°F. Line an 8″x8″ or 8″x11″ baking dish with parchment paper (allowing it to go up the sides, not just the bottom).
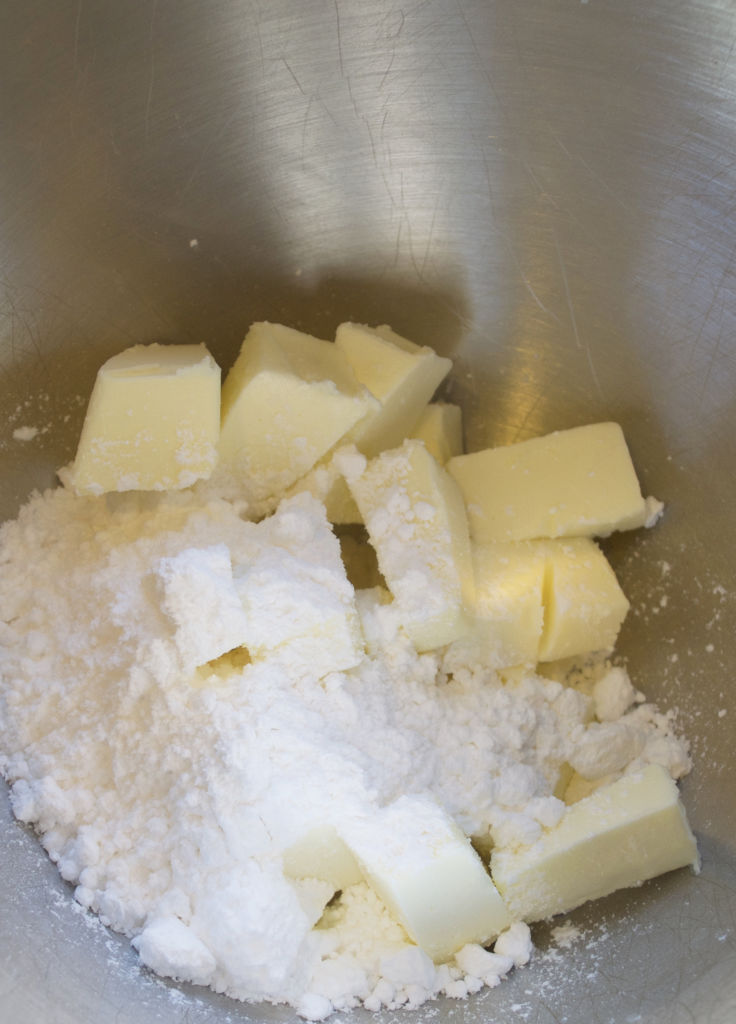
2. To prepare the crust, beat together the butter and powdered sugar in a stand mixer (or with a hand mixer) on medium-high speed until they are completely combined and resemble creamy frosting. Stop the mixer and scrape down the sides of the bowl as needed while mixing.
DSC_0578 3. Add the all-purpose flour, almond flour, and salt to the bowl. Beat on low speed just until all the flour is incorporated and the mixture comes together into a dough.
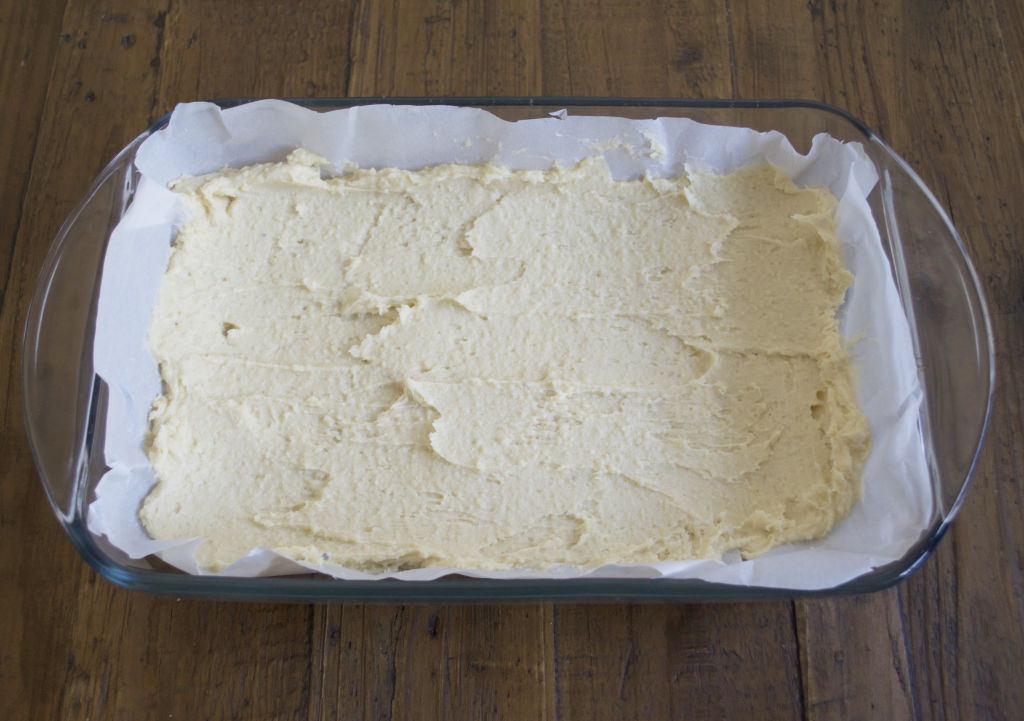
4. Press the dough into the baking dish and make as compact as possible. Bake for 20 to 25 minutes, until the edges of the shortbread turn golden-brown.
DSC_05845. To prepare the lemon curd. Whisk together the eggs, yolks, and sugar in a small (2-quart) saucepan, then whisk in the lemon zest, lemon juice, and salt to form a smooth mixture. Set a small strainer over a mixing bowl and place next to the stove.DSC_0563 6. Place the pan with the lemon mixture over medium heat. Stir continuously for about 8 minutes until the mixture thickens and registers about 155°F.
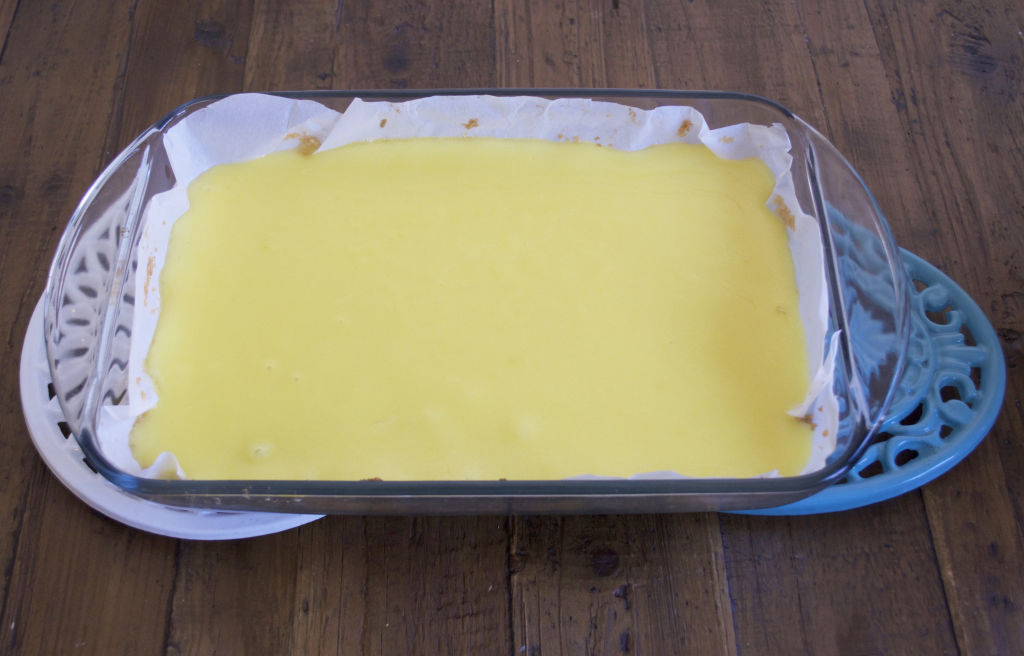
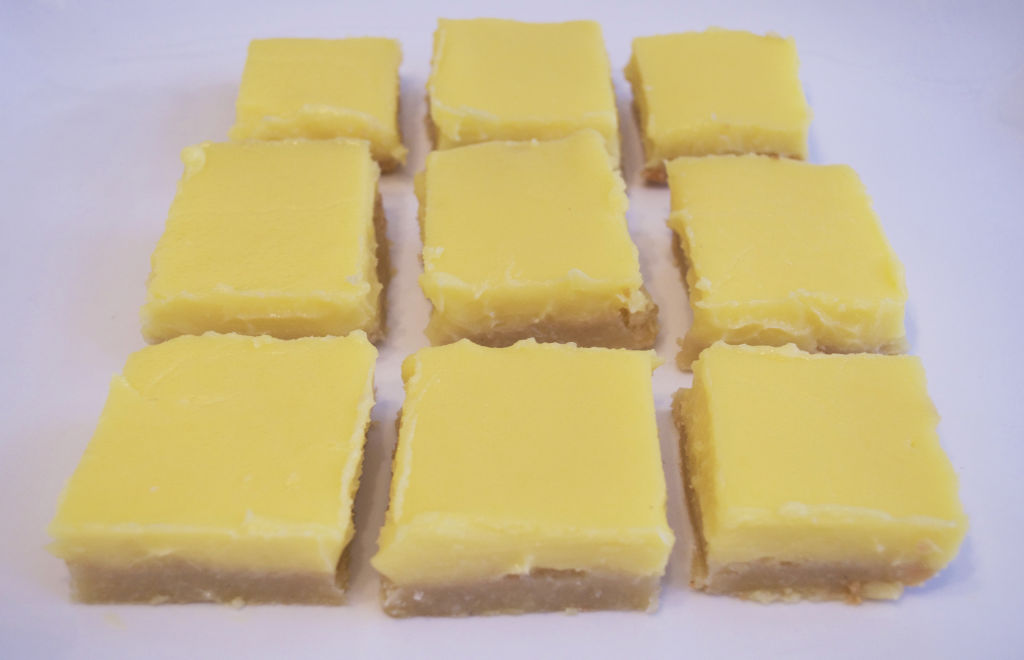
7. Strain the heated mixture into the bowl, removing the zest and any clumps from the curd. While the curd is still warm, stir in the butter. Stir until the butter is completely melted.
8. When the shortbread crust is ready, remove it from the oven and pour the curd over top. Bake at 350°F until the edges of the curd are set, but the middle is still jiggly, 10 minutes. Cool completely and refrigerate for at least 4 hours.DSC_0595
DSC_0685

Copyright © 2018. Powered by A & E Cyber Publishers.